
How To Deploy Your WordPress Website – Easy And Simple Guide
WordPress provides you with tons of features to build your desired websites. After creating your website you have to check out the functions of that as well. For that purpose, the localhost server is used that would be helpful to test your website locally on your system. But after that, you need to deploy your WordPress website. Here we will discuss the deployment of a WordPress website on a live server.
Generally, there are two ways to get this done. One way is to use a plugin and the other way is to do it manually. The first way is more effective and safe as the process of deployment is very sensitive and even a small misconfiguration can cause a serious negative impact on the functioning of the website. Here we are using “All-in-one WP Migration” plugin to get our WordPress website deployed on a live server.
Phases involved in Deployment
The process of deployment consists of two phases:
Phase (I): Exporting your local website
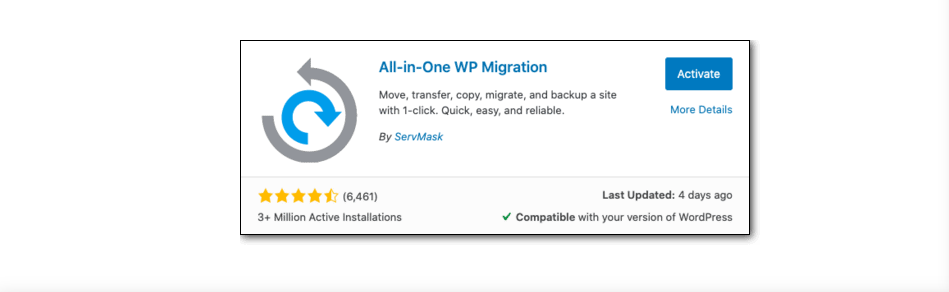
- Go to your WordPress website and click on ‘Add plugin’. Enter “All-in-one WP migration” in the search section. Simply install the plugin and install it.
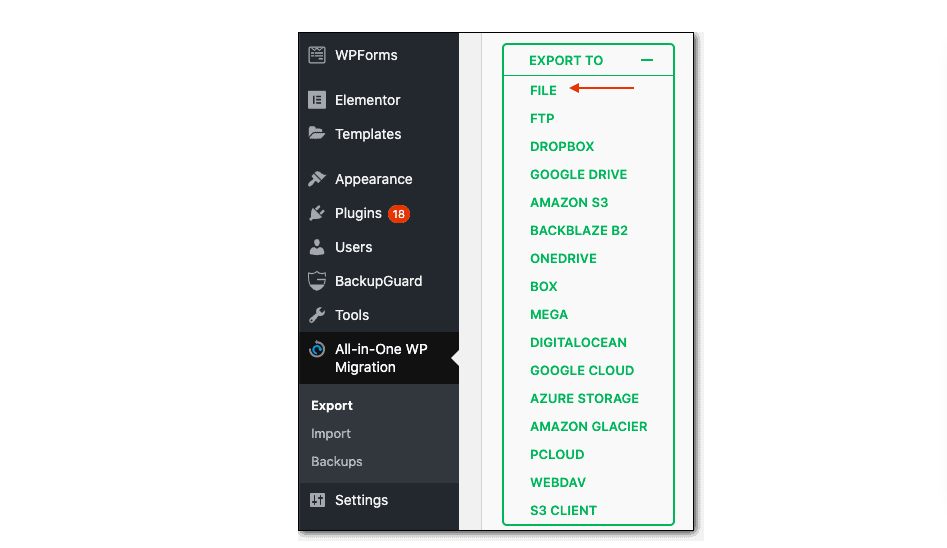
- Navigate to the WordPress dashboard and click on the “All-in-one migration”. Clicking on that, three options will get appeared (a) Import (b) Export (c) BackUp.Simply click on ‘Export’.
- Now the next page will get appeared displaying several options. Skip all these options and simply click on ‘Export To’ and then select the ‘File’ Option from the menu.
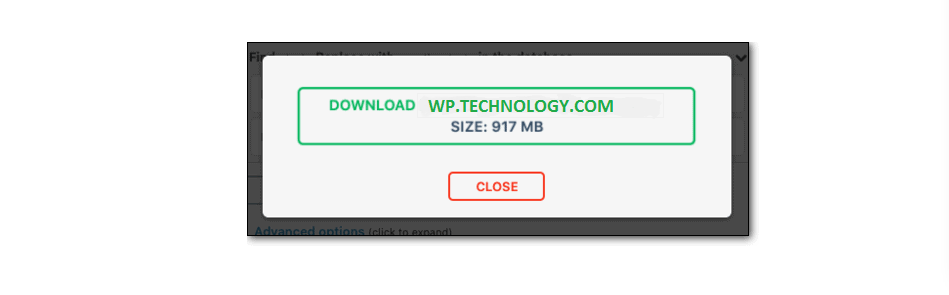
- You will observe that the WP migration plugin will start the process of creating a copy of your website.
- Wait for some time to get the process completed. After the completion of the process, you can download the file for your WordPress website.


Phase (II): Importing the WordPress file to the live server
- Login to the WordPress Admin provided by your Webhosting provider.
- Go to the WordPress Dashboard and install the ‘WP migration’ plugin similarly as we have done in phase 1.
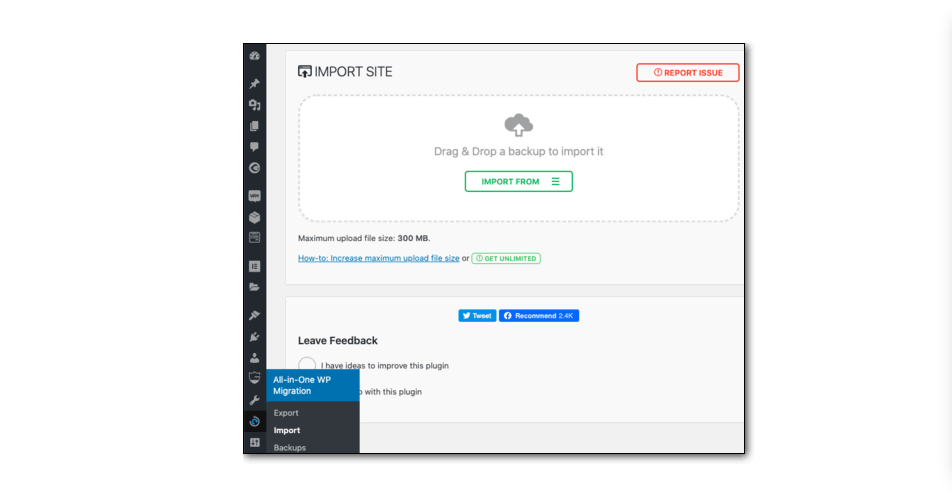
- After installing ‘All-in-one WP migration’ plugin, select it from the dashboard and click on ‘Import’.
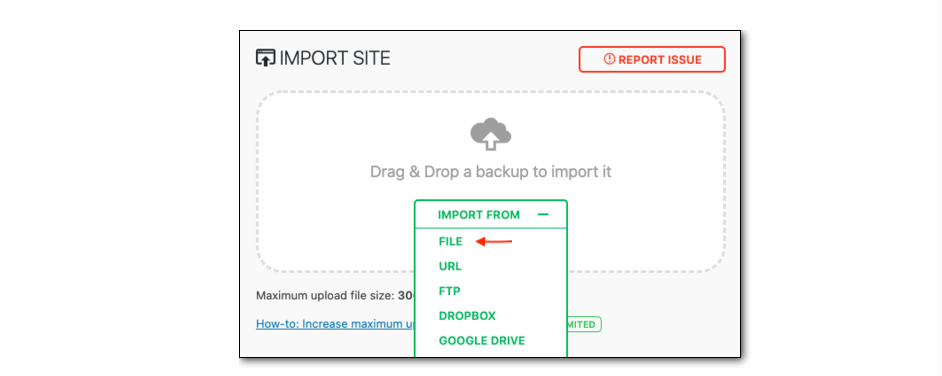
- Now the ‘Import’ page will get displayed. Click on ‘Import From’ and select ‘File’.
- Next, select the file that you have downloaded in phase 1 from the localhost server.
- After the completion of the ‘Import’ the plugin will notify you about it and will request you to log in to your website.


Conclusion
We hope that this step up guide will be helpful for you to deploy your WordPress website from a localhost to a Live server of a web hosting provider.